Thinking of giving your space a fresh look with tile? Whether you’re upgrading a bathroom, kitchen, or an entire room, tile can instantly elevate your space, but only if it’s installed right. If you’re unsure whether to go the DIY route or call in a pro, knowing a few core tile installation techniques can make all the difference.
In this post, we’ll walk you through essential tile installation tips for beginners and share some of the best-kept secrets from the trade, trusted tiling trade advice, to help you get professional results
Tools & Materials Checklist
Before you begin tiling, make sure you have these on hand:
- Tile cutter or wet saw
- Notched trowel
- Tile spacers (2mm, 3mm, or 5mm)
- Level or laser level
- Grout float
- Mixing bucket
- Adhesive (thin-set mortar or mastic)
- Sponge & clean water
- Safety goggles and gloves
- Measuring tape & pencil
Choosing the Right Tile for the Right Job
One of the most common questions homeowners ask is: “What kind of tile should I use?” The truth is, not all tiles are created equal, and using the wrong type can lead to costly repairs down the road. Here’s a quick breakdown to help you choose the right material for your space:
Ceramic Tile
A popular and budget-friendly option, ceramic tile is ideal for low-traffic areas like backsplashes, walls, and guest bathrooms. It’s easy to cut and comes in countless colors and patterns.
Porcelain Tile
Denser and more durable than ceramic, porcelain is a great choice for high-traffic areas, including floors, mudrooms, and entryways. Its water resistance also makes it a smart pick for showers and outdoor use.
Glass Tile
Sleek and modern, glass tile is perfect for accent walls, kitchen backsplashes, and decorative borders. It reflects light beautifully but can be tricky to install and maintain in high-impact areas.
Natural Stone Tile
Materials like marble, slate, or travertine add timeless beauty and texture. These tiles are best used in areas where durability and elegance are both priorities, like master bathrooms or fireplace surrounds. Be aware that they often require sealing and special care.
Professional Tiling Tips to Avoid Common Mistakes
Tiling a space may seem simple, but without the right approach, it’s easy to fall into some common tiling mistakes, like uneven spacing, poor surface prep, or tiles popping up over time. Below are some tried-and-true tile installation techniques that professionals rely on for clean, lasting results:
Always prep your surface
A clean, dry, and level surface is the foundation of a good tile job. Skipping this step is one of the most common tiling mistakes and can lead to poor adhesion or cracked tiles.
Use the right adhesive
Depending on the tile type and surface, using the wrong adhesive—or too much of it—can create a mess or reduce durability. Refer to the manufacturer’s guidelines or consult with someone in the tiling trade if unsure.
Mind your spacing
Don’t eyeball it; use tile spacers to ensure consistent gaps and straight lines. This helps your grout look clean and prevents tiles from shifting as the adhesive sets.
Plan your layout
Professionals recommend laying out tiles before applying adhesive. This helps visualize the pattern and avoid awkward cuts or uneven edges.
Don’t rush the drying process
Letting your adhesive and grout fully cure is crucial. Walking on or cleaning tiles too soon is another common tiling mistake that can ruin all your hard work.
Essential Professional Tiling Tips to Avoid Common Mistakes
More Is Better: Miscalculations happen more often than we want to admit, especially if you have to custom-fit a few tile pieces. When you’re buying the tile, make sure you buy 10% more than you calculated. If something happens, you’ll have the extra tiles to work with right away. Don’t just count on getting more tile from the store if you run out. Depending on where you get it, there’s a chance the color won’t match your tiles exactly or there won’t be any in stock, delaying your project. If you don’t end up using the last little bit and the box is unopened, you might be able to return them or save them for a future project.
Start in the Middle: Whether you’re working with an intricate design or a pattern, it’s best to start in the middle of the area. Not only will the focal point of the wall be in the right spot, but the grout lines will be more consistent and the edges will be cleaner.
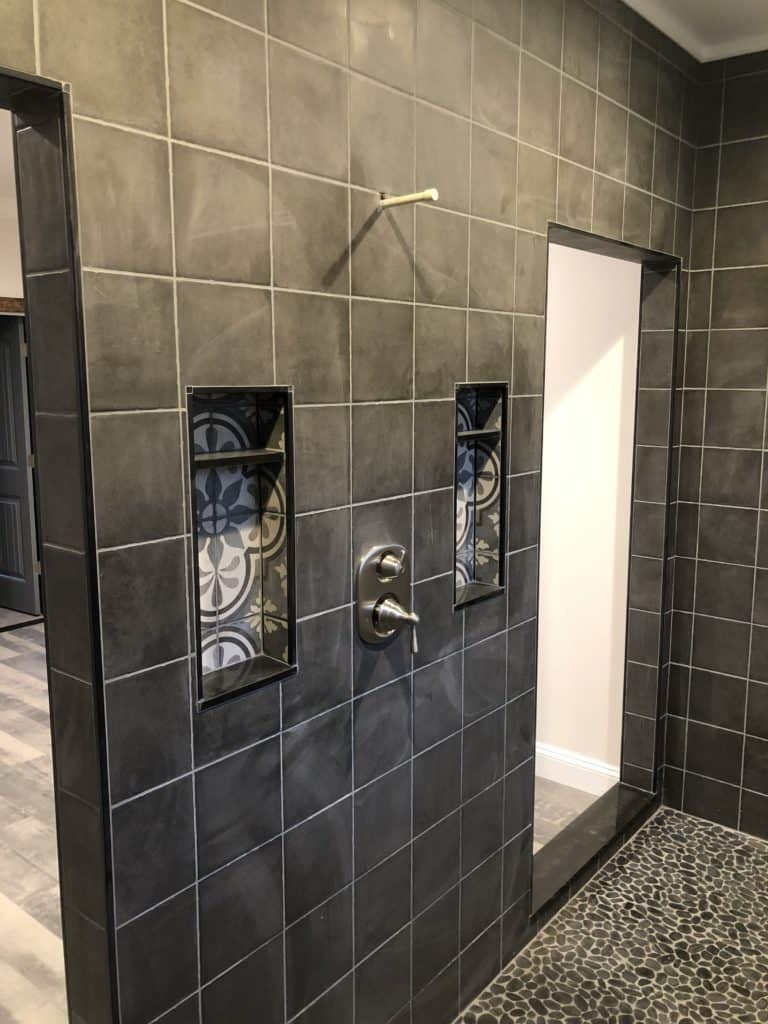
Practice First: One rule a professional tile layer will always say is to practice the pattern first. Lay the tiles out first to see how the pattern will look before you add the adhesive or grout. You’ll be able to make adjustments beforehand without worrying about rushing and messing up the pattern. This will also make the process go faster because you know exactly where each tile will go.
Keep it Levelled: None of the tiles should bow up or create “lippage.” It doesn’t look great with the finished process. More importantly, it will leave the tile, grout, and adhesive underneath vulnerable to water getting in. This will create more issues down the line.
Even Gaps: You’ll see professionals using spacers between each tile piece. It serves a few purposes. It helps keep the tiles straight and in place, as well as gives a space for the grout. Usually, the spacers will be 2, 3, or 5mm depending on the tile and the design.
“Measure Twice, Cut Once”: You’ve probably heard this saying many times for various different things. Some tiles may have to be trimmed down, but once a cut is made the piece can’t be put back together again. Measure the tile and even if you know you have it perfect, measure it again before making that cut.
The Adhesive Needs To Be Dry: From start to finish depending on the area you’re working with, tiling is going to take a couple of days. The adhesive used to attach the tile to the surface needs at least 24 hours to dry before you can grout. There is a rapid set adhesive, but a lot of times it sets way too fast if you need some time for wiggle room.
Frequently Asked Questions
1. What are the most important tile installation tips for beginners?
Start with a clean, level surface and plan your tile layout before applying adhesive. Using spacers and checking alignment as you go helps ensure even spacing and a professional finish.
2. What is the biggest mistake people make during tile installation?
One of the most common mistakes is skipping proper surface preparation, which can cause tiles to lift or crack over time. Rushing the drying process or using the wrong adhesive can also lead to long-term failure.
3. How do professionals achieve a clean and balanced tile layout?
Professionals typically start tiling from the center of the room and dry-lay tiles first to test the pattern. This helps avoid awkward cuts at the edges and keeps the design visually balanced.